Strengthening Built-up Glider Wings
with Bob Vixie
Introduction
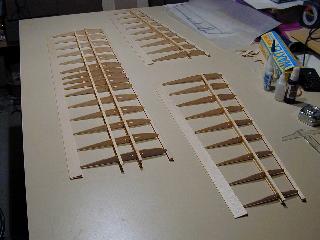
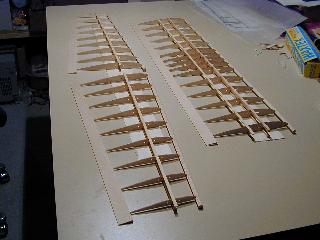
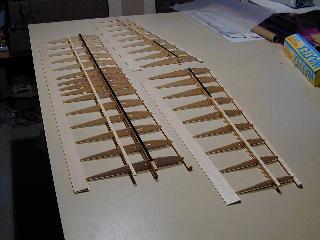
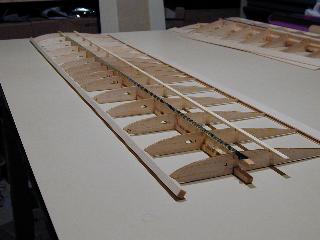
Built-up glider wings can be significantly strengthened using the following described method. The pictures show a Jester wing by Laser Arts. I've also done this to my Majestic by Laser Arts with outstanding results. The wings hardly flex on launch.
What you will need
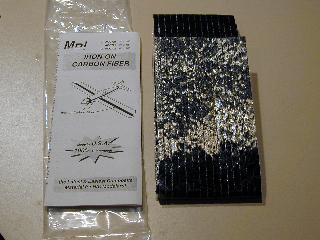
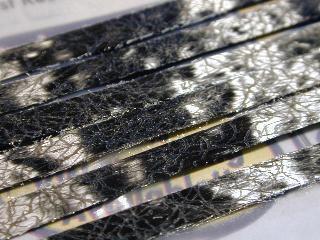
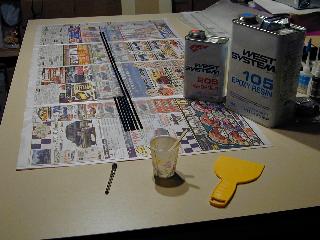
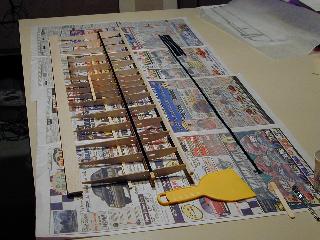
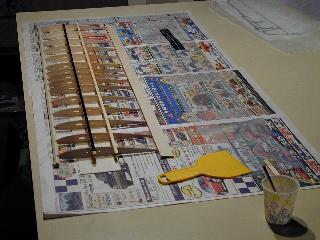
You will need some unidirectional carbon fiber. This can be in the form of tow or unidirectional webbed as shown in the pictures. Unidirectional webbed is very convenient since the fibers are locked together by a web and are divided into 1/4 inch strips. You will also need some plastic, epoxy, putty knife, and some books.
I got the unidirectional carbon pictured at the local hobby shop. It's distributed by MPI and comes in several size packs. This is also available from The Composites Store (CST), known as "Heat-Tac Unidirectional Carbon Tape." The Unidirectional carbon fabric listed above it as "Smooth webbed" and "Gapped Webbed," is also the same stuff. Aerospace Composite Products have very similar stuff for sale.
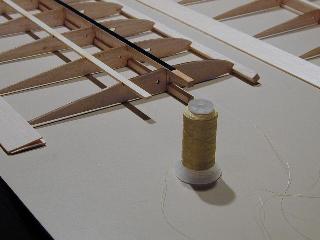
You will also need some Kevlar thread (available at CST also), CA, and polyurethane for the wrapping.
Oh, and some built-up wings....
Preparing
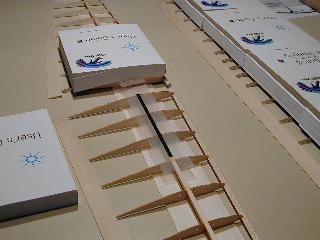
First decide how much of the wing you are going to cover in carbon and how much carbon you'll use. For this 2 meter wing I'm going to put just one 1/4-inch width of carbon on the top and bottom of the center panel and about 3 bays onto the tip panels. On my Majestic I used 3 1/4-inch strips top and bottom on the root panels, 2 1/4-inch strips top and bottom on the middle panels, and none on the tip panels.
Cut the carbon to the lengths that you will need. Make sure that they will extend over the end rib so when you cut the spars to length the carbon will come clear out to the edge.
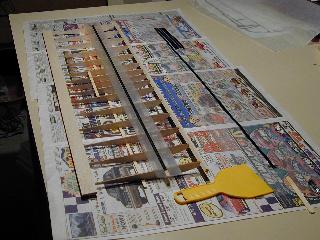
Next, cut some lengths of plastic that fit the carbon. If you are putting multiple strips of carbon on a side of the wing, you will only need one piece of plastic for that. Read ahead if this is unclear and it will clear right up. I use 2-inch strips of plastic. You will also need one larger piece to wet out the carbon with epoxy.

Get some lengths of 1/16-inch balsa (for Laser Arts kits) to put under the spars. This is how the wing was built up and you need to preserve that while putting the carbon on. This balsa is where the D-box sheeting will be later.
Epoxy on the carbon
Lay the carbon on the large plastic, mix some epoxy, and wet out the carbon. Use a putty knife to work the epoxy into the strands. I use West Systems epoxy so that I'm not rushed at all. It has a very long working time. If you use faster epoxy, you may need to do sections at a time.
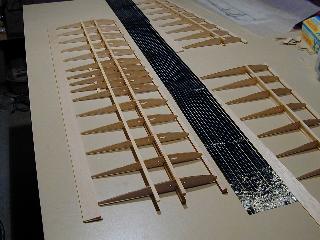
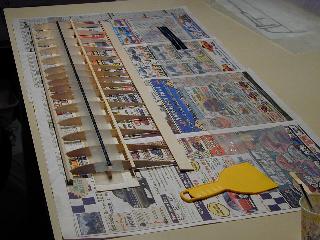
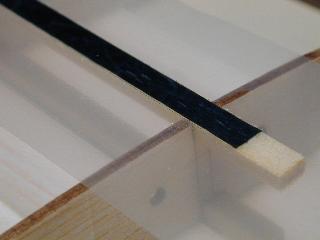
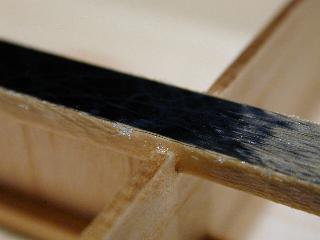
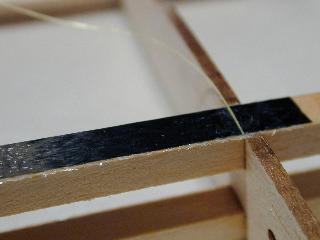
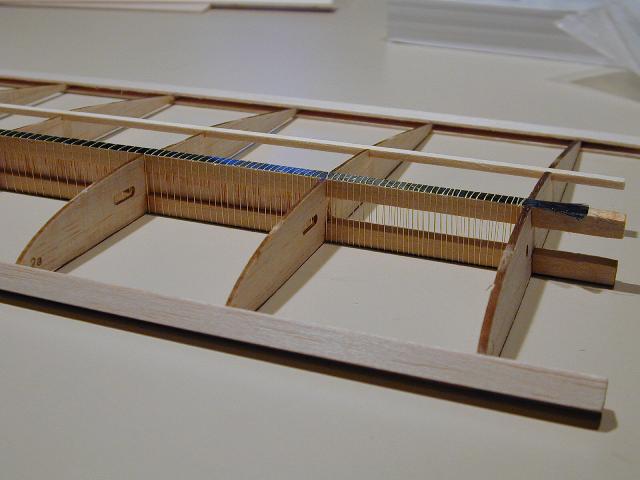
Starting on the bottom of the wing, brush epoxy onto the spar so you get a very good bond.
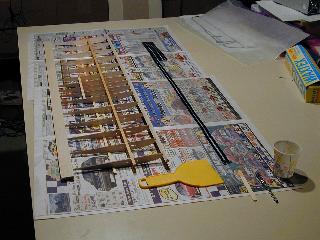
Lay the carbon on the spar making sure it's nice and straight. Once you are satisfied, cover it with a strip of plastic. Rub the plastic down so that all the air bubbles are pressed out. This also helps the plastic "stick" to the wing making it easier to handle.
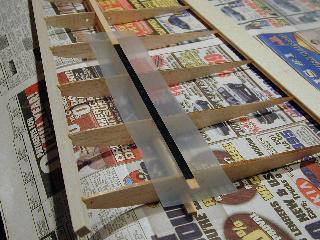
Place the balsa on the plastic and flip the wing over.
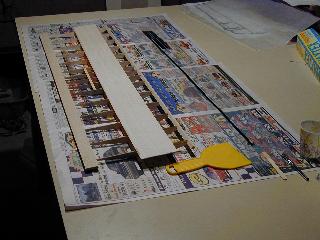
Brush epoxy on the top of the spar, place the carbon, and cover it with another strip of plastic.
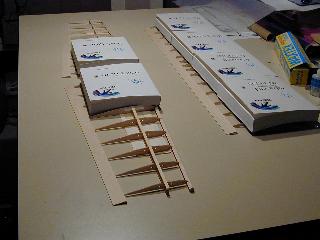
Set this panel aside and do the other sections the same way. For the wing tips, I'm only doing part of the spar.
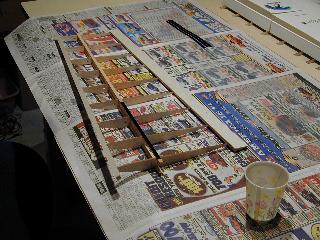
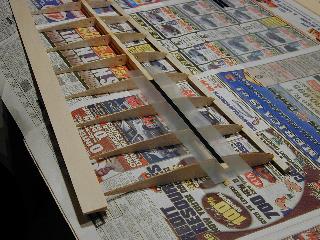
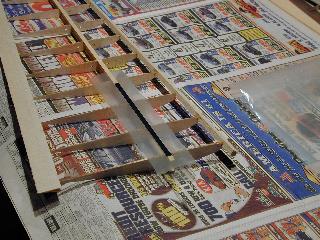
For the wing tips, the plastic stuck just fine, so I laid the balsa on the table and set the wing tips on it.
Then set books on top to keep the carbon pressed to the spars while the epoxy cures.
Kevlar wrap
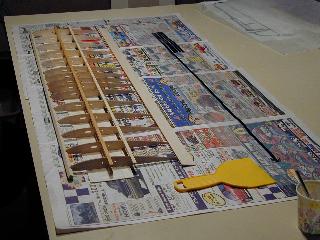
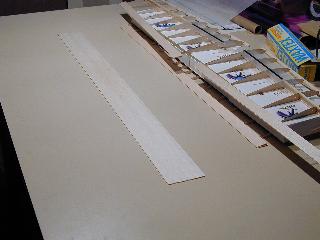
Once the epoxy has cured, take the books and plastic off.

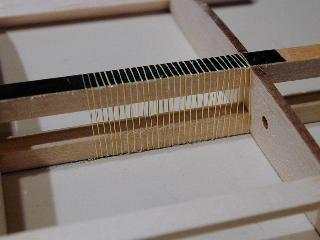
I use Kevlar thread to wrap the wing. The carbon adds the stiffness; this will add the strength. The Kevlar wrap keeps the spars from spreading under load.
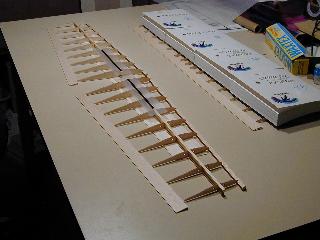
Cut a length of thread that is easy to handle. I use about 6 feet at a time. Tack the end to the top of the carbon with some CA and wipe the excess off.
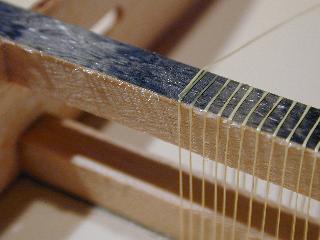
Keeping the thread tight, wrap it around the spare. This is a bit tedious as you have to thread it through the ribs with each revolution. You'll get good at it real fast. I wrap it quite close (1/16 inch) on the ends of the wing for some added strength around the dihedral joints. When you get to the end, tack it down and cut off the excess.
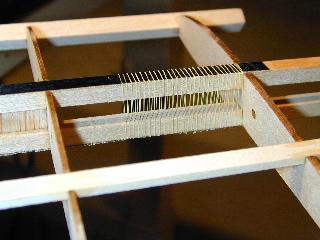
Cut another piece, tack it on and keep going. Once I'm away from the end a bay or so, I wrap them about 1/8 inch apart. Continue until the whole wing panel is done, then do the others. Lots of fun.
When you get done wrapping, brush on some polyurethane to tie the Kevlar strands together. You only have to do this on the front and back, not where the carbon is. The wing sheeting glue will get that.
Now you have some very strong wings that you can continue building with.
Some other things to note
Now that you have a bit of extra carbon on the spares, the wing sheeting will have a slight bump over the spar when it's put on. Just press it down to the ribs and sand the bump down. The sheeting will be slightly thinner over the spar, but with the carbon, this isn't a problem.